- English
- French
- German
- Portuguese
- Spanish
- Russian
- Japanese
- Korean
- Arabic
- Greek
- German
- Turkish
- Italian
- Danish
- Romanian
- Indonesian
- Czech
- Afrikaans
- Swedish
- Polish
- Basque
- Catalan
- Esperanto
- Hindi
- Lao
- Albanian
- Amharic
- Armenian
- Azerbaijani
- Belarusian
- Bengali
- Bosnian
- Bulgarian
- Cebuano
- Chichewa
- Corsican
- Croatian
- Dutch
- Estonian
- Filipino
- Finnish
- Frisian
- Galician
- Georgian
- Gujarati
- Haitian
- Hausa
- Hawaiian
- Hebrew
- Hmong
- Hungarian
- Icelandic
- Igbo
- Javanese
- Kannada
- Kazakh
- Khmer
- Kurdish
- Kyrgyz
- Latin
- Latvian
- Lithuanian
- Luxembou..
- Macedonian
- Malagasy
- Malay
- Malayalam
- Maltese
- Maori
- Marathi
- Mongolian
- Burmese
- Nepali
- Norwegian
- Pashto
- Persian
- Punjabi
- Serbian
- Sesotho
- Sinhala
- Slovak
- Slovenian
- Somali
- Samoan
- Scots Gaelic
- Shona
- Sindhi
- Sundanese
- Swahili
- Tajik
- Tamil
- Telugu
- Thai
- Ukrainian
- Urdu
- Uzbek
- Vietnamese
- Welsh
- Xhosa
- Yiddish
- Yoruba
- Zulu
Can ESPHome Display Sensor Data in Real Time?
Yes — ESPHome can display sensor data in real time, and it does so with impressive reliability. At its core, display ESPHome refers to the integration of visual output modules within the ESPHome firmware environment, running on ESP32 or ESP8266 microcontrollers. The system reads sensor values at configurable intervals — as fast as every 500ms — and pushes updated data directly to a connected screen or Home Assistant dashboard. For engineers building industrial panels, medical monitors, or smart appliances, this capability removes the need for complex polling scripts and delivers low-latency visual feedback.

Understanding ESPHome and Real-Time Sensor Data Display
ESPHome is a free software platform for firmware that takes declarative YAML configurations and turns them into compiled C++ drivers for microcontrollers. Engineers can connect sensors and screens without having to write low-level initialization code from scratch because it hides the hardware communication layer.
How ESPHome Handles Sensor Data
ESPHome receives sensor outputs like temperature, humidity, motion, and pressure at times set by the user. After that, it sends those numbers to a lambda drawing engine, which writes them straight to the display buffer. This design gets rid of the polling delays that come with raw Arduino setups.
Communication with Home Assistant
A native API protocol is used by ESPHome to talk to Home Assistant. This is faster and uses less data than HTTP polling. Changes in the state of the sensors are sent to the dashboard in milliseconds, so it can be used for monitoring tasks that need data to be sent back almost instantly.
Compatible Display Technologies
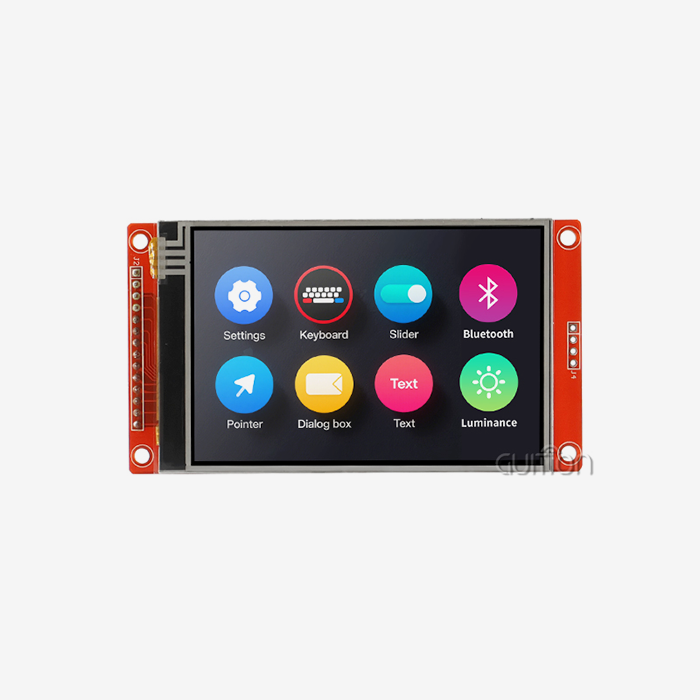
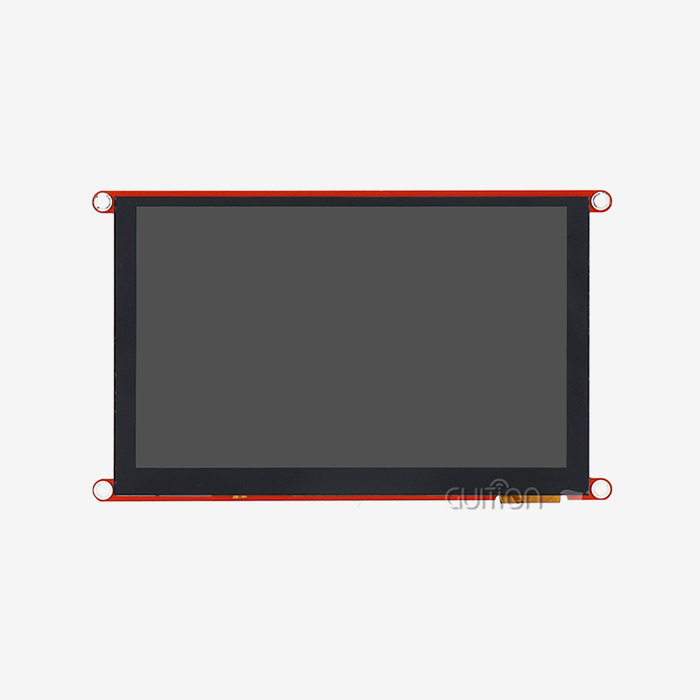
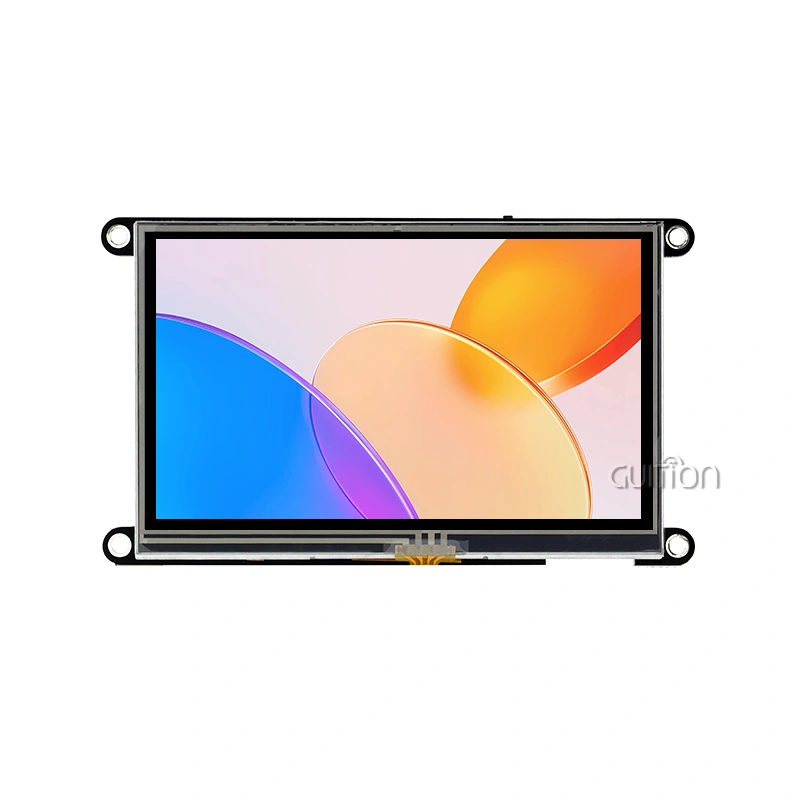
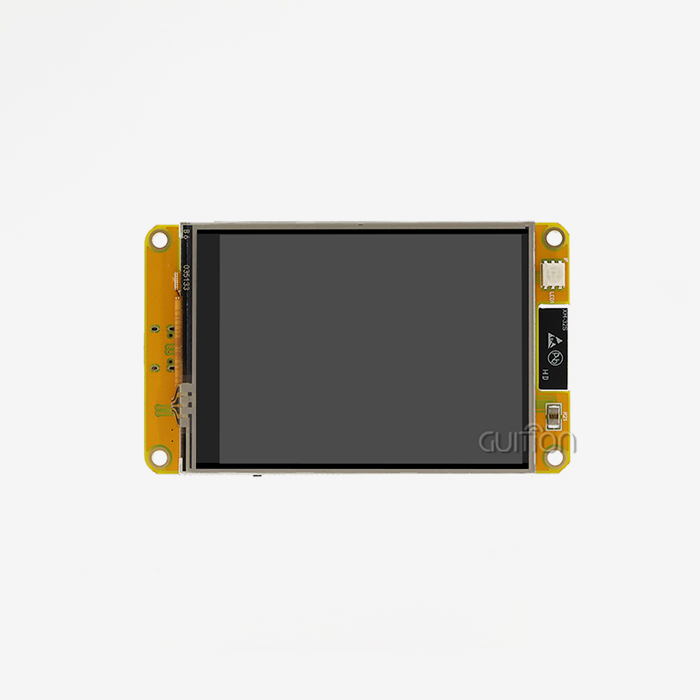
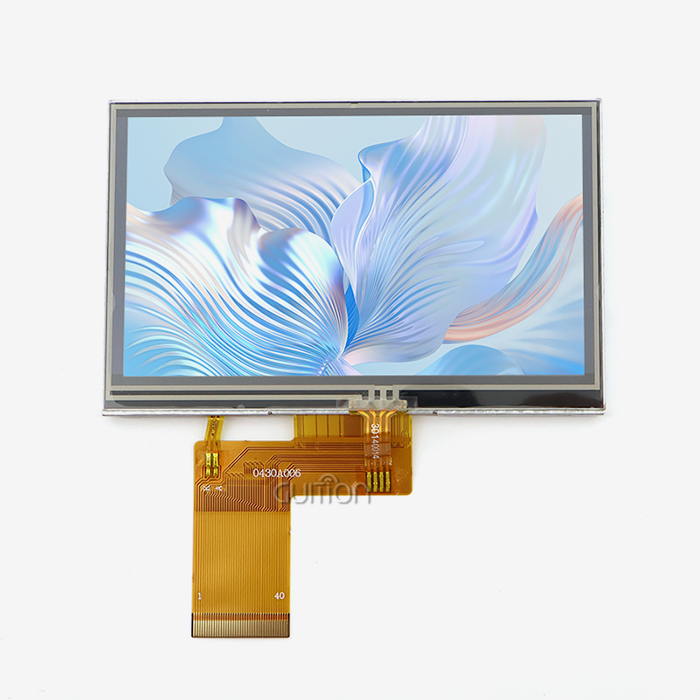
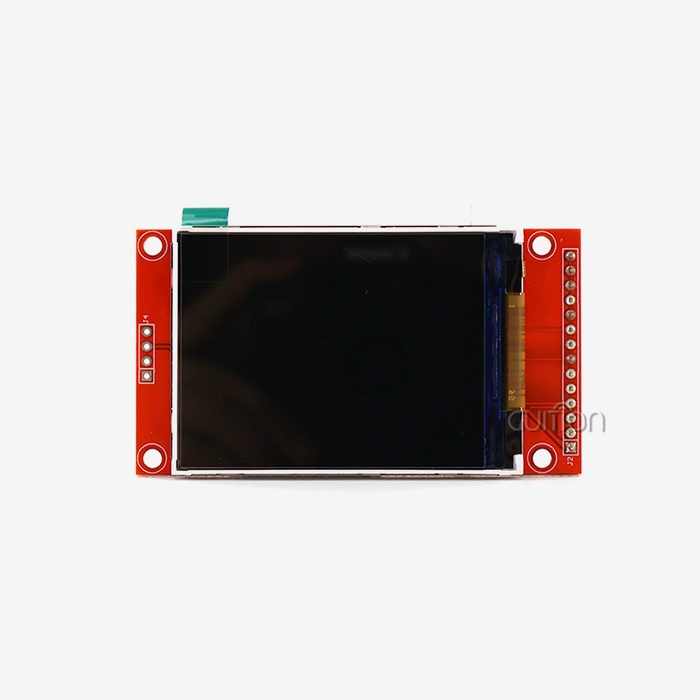
SSD1306 OLED modules, ILI9341 TFT LCD screens, E-Paper panels, and RGB interface displays can all be used with ESPHome. It's a 4.3-inch TFT LCD that's powered by the ILI6485 chip. It has an RGB interface, a resolution of 480x272, 16.7M colors, and sensitive touch, which makes it a good choice for industrial HMI uses.
Setting Up ESPHome for Real-Time Sensor Data: Step-by-Step Tutorial
The right hardware, a clean software flash, and a well-structured YAML file are needed to get a display ESPHome setup to work. Here is a step-by-step guide for engineers and buying teams who are figuring out if a launch is possible.
Hardware Selection and Firmware Flashing
Pick an ESP32-based board that has enough RAM (at least 4MB flash). You can use the ESPHome Dashboard web tool or the CLI to flash ESPHome firmware and display esphome. Make sure that the version of ESP32 you're using allows parallel RGB output for screens with RGB interfaces like the GUITION JC4827B043.
YAML Configuration for Sensor Updates
For accurate real-time data, set the update_interval of a sensor component in your YAML file to 1s or less. To format and show sensor values, use the display: block with a C++ lambda. Setting `data_smoothing} filters in the sensor part makes values less unpredictable due to electrical noise.
MQTT Integration and WiFi Setup
You can send sensor data to an MQTT broker by adding the mqtt: component to your YAML. For a stable connection, set up wifi: with a static IP. ESPHome's built-in reconnection logic handles WiFi drops with grace, which is important in business settings where network reliability can vary.
Comparing ESPHome with Alternative Firmware Solutions for Real-Time Use
When engineers are looking at firmware choices for HMI setups, they often compare ESPHome to systems based on Tasmota, ESPurna, and Arduino IDE. Before choosing a buying plan, you should think about the pros and cons of each one.
ESPHome vs. Tasmota
Tasmota is good at controlling relays and publishing basic MQTT messages, but it doesn't work well with displays and needs extra scripting to show real-time sensor data. With lambda drawing, ESPHome supports native display components, so that gap is gone for good.
ESPHome vs. Arduino IDE Firmware
The Arduino IDE gives you the most power, but you need to know a lot about low-level drivers. When it comes to SPI timing, screen initialization, and font rasterization, developers have to do everything by hand. YAML abstraction makes these steps automatic in ESPHome, which greatly reduces the time needed for development for teams that don't have a lot of experience with C++.
ESPHome vs. ESPurna
ESPHome is good for tracking energy use, but it doesn't have as many display options as ESPHome. ESPHome's combined design is the better way to go for projects that need to both get data from sensors and show it on a screen, like charging station panels or medical device interfaces.
Troubleshooting and Optimizing ESPHome for Reliable Real-Time Data
Setups that are well-configured can still have problems. If you know how to find and fix them, you can keep your display esphome deployment on track and cut down on service calls after the sale.
Resolving Screen Flickering and Rendering Artifacts
Most of the time, flickering happens when the display buffer updates faster than the drawing lambda finishes. Either slightly raise the update_interval or make the lambda's graphics less complicated. Double-buffering may or may not work on color TFT screens with a 16.7M color depth, depending on the driver chip.
Fixing Inaccurate Sensor Readings
A lot of the time, wrong results are caused by electrical interference or not giving sensors enough time to start up. To make values less erratic, add a filter block to your YAML file and set the value to sliding_window_moving_average. If you put temperature monitors near heat sources, you need to use an offset: correction number.
Firmware OTA Updates and Downtime Reduction
Over-the-air (OTA) firmware updates are built right into ESPHome. Plan OTA updates for times when there isn't much activity. When used with ESPHome-compatible boards, the GUITION JC4827B043C allows remote software iteration. This means that units that are set up in charging stations or 3D printer farms can get updates without anyone having to physically change them.
Procurement Guide: Buying the Right ESPHome-Compatible Hardware for Real-Time Applications
Choosing the right hardware is just as important as setting up the firmware. Teams in charge of buying things should check modules for things like processing power, compatibility with other devices, and long-term supply reliability.
Evaluating ESP32 Modules for Display Projects
If your display has an RGB interface, give ESP32 versions that allow RGB parallel output the most attention. Check the size of the flash memory (at least 4MB) and the availability of PSRAM for allocating the display buffer. The GUITION JC4827B043C works with ESP32-S3 boards that let you connect an RGB panel directly at a resolution of 480x272. Before you buy, you should think about these main hardware factors:
- Display interface compatibility: Verify whether your target screen uses SPI, I2C, 8080-parallel, or RGB interface. The JC4827B043C uses an RGB interface, requiring an ESP32-S3 with a dedicated LCD peripheral for display ESPHome. Processing power and RAM: ESP32-S3 modules with 8MB PSRAM handle frame buffer allocation for 480×272 screens without performance degradation.
- Touch controller support: The JC4827B043C integrates a capacitive touch panel. Ensure your firmware configuration for display esphome includes the correct I2C touch driver for accurate input registration.
These specs have a direct effect on how reliably your display ESPHome system works with real workloads, especially in medical or industrial settings where data accuracy is very important.
Vendor Reliability and Technical Support
Choose manufacturers that offer thorough instructions, extra development tools, and quick expert help. The Guition development environment, which was made by Shenzhen Jingcai Intelligent, works with Arduino, ESP-IDF, and other platforms. With the drag-and-drop UI builder, engineers can make user interfaces for displays without having to write the same layout code over and over. This cuts down on the time it takes to make changes to a project.
Conclusion
The ESPHome platform has been used successfully and is useful for showing sensor data in real time. Engineers in the industrial, medical, and consumer IoT segments can use it because it has a YAML-driven setup model, works with Home Assistant natively, and supports a number of different screen technologies. Development teams can build flexible HMI interfaces without having to start from scratch when they use purpose-built hardware like the GUITION JC4827B043C, a 4.3-inch, 480×272 RGB display with sensitive touch and an ILI6485 driver. With the right display module, ESPHome always works well in real time, whether it's a charging station, a medical monitor, or a farm control panel, making it a practical choice for display ESPHome applications.
FAQ
Can ESPHome display sensor data without an internet connection?
Yes, ESPHome only works on the local network. Sensor data is shown on the screen by the onboard firmware, so you don't need to connect to the cloud. For OTA updates or external MQTT broker links, you only need to be connected to the internet.
How frequently can ESPHome update sensor data on a screen?
For most types of sensors, ESPHome lets you set the update_interval to as little as 500ms. How fast the screen refreshes depends on the driver chip and how complicated the lambda rendering function is. For the JC4827B043C that is driven by the ILI6485, smooth visual updates can happen every second under normal conditions.
Is ESPHome suitable for large-scale industrial sensor networks?
ESPHome works well for setting up nodes in different places. Every device has its own software that it runs on its own and sends to a shared MQTT server or Home Assistant instance. When it comes to scalability and message reliability, MQTT is the best protocol for networks with dozens of nodes.
Does the GUITION JC4827B043C work with ESPHome out of the box?
The JC4827B043C has an ILI6485 driver and an RGB port. To connect to ESPHome, you need an ESP32-S3 board that supports RGB LCD and the right YAML configuration for the display components. To help with this process, Guition offers manuals and other development materials.
Partner with Guition for Your Display ESPHome Project
The JC4827B043C is a good choice for your next HMI project because Guition is a display and ESPHome maker. The module has a 4.3-inch screen with a resolution of 480x272 and 16.7M colors. It also has capacitive touch and supports development on Arduino, IDF, and the Guition platform. Remote OTA updates and UTF-8 encoding that supports multiple languages make global implementation possible. You can talk to the Guition team about your needs by emailing David@guition.com.
References
1. Tasmota Project Documentation — Tasmota GitHub Repository, 2023.
2. Espressif Systems — ESP32 Technical Reference Manual, Espressif Systems, 2022.
3. Home Assistant Foundation — ESPHome Integration Documentation, Home Assistant, 2023.
4. Maier, M. — IoT Sensor Networks: Protocols, Platforms, and Applications, IEEE Press, 2021.
5. Kurniawan, A. — Internet of Things Projects with ESP32, Packt Publishing, 2019.
6. Schwartz, M. — Internet of Things with ESP8266, Packt Publishing, 2016.
Learn about our latest products and discounts through SMS or email